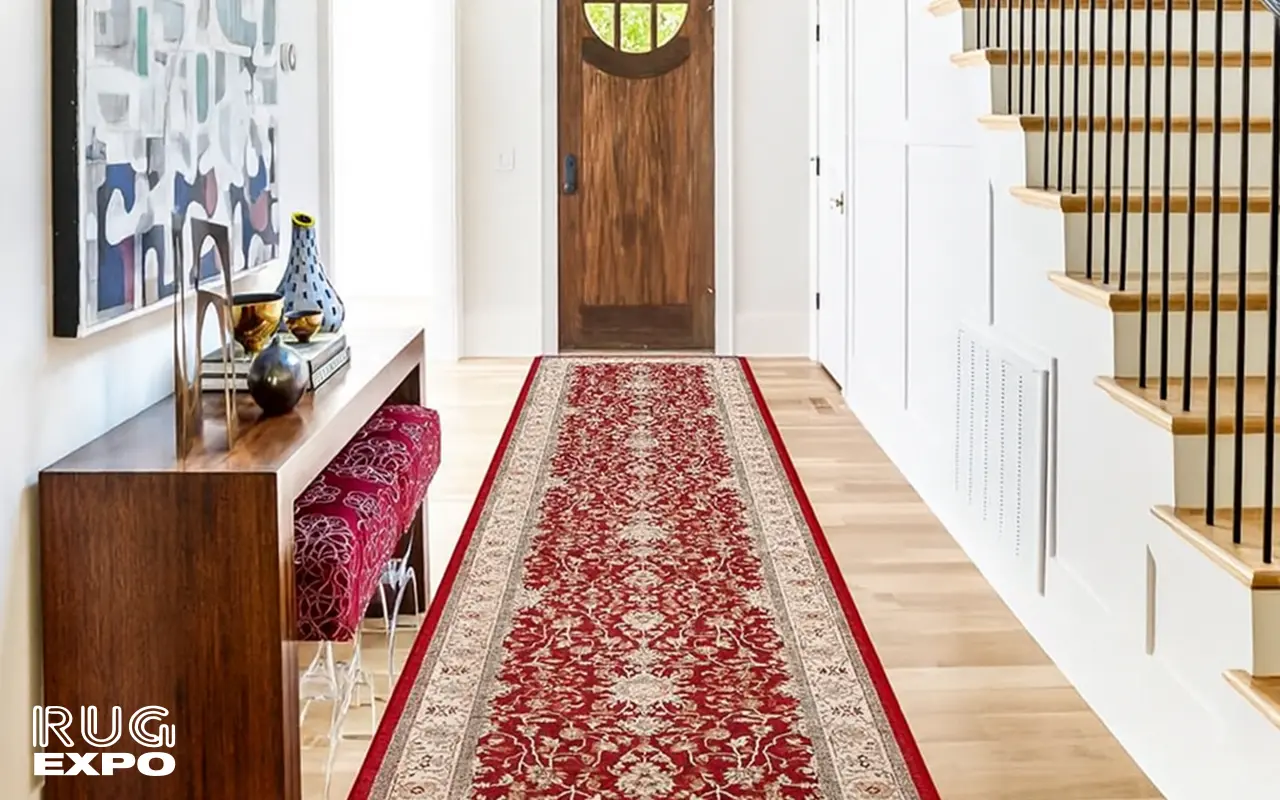
Hallways might seem like the “just passing through” parts of a home, but anyone who’s tripped over a loose rug knows they deserve more attention than they get. A well-placed hallway runner rug doesn’t just look good but it protects floors, adds warmth, and keeps traffic areas safer. But here’s the catch: without the right setup, that beautiful runner can slip, bunch up, or curl at the edges, turning your hallway into a hazard zone. In this guide, we’re rolling out practical advice that blends style, safety, and a little creative know-how. You’ll learn rug placement tips that make a hallway look pulled together, DIY rug tips for keeping things in place, and the best tricks to prevent rug curling. We’ll also explore non-slip runner solutions, tools, and prep work, and even who benefits most from these techniques.
Before getting into the nuts and bolts, it’s worth understanding why hallway runner rug placement isn’t just an afterthought. The way a rug sits in your hall affects everything from daily comfort to long-term safety. Proper placement means less adjusting, fewer trips, and a smoother visual flow through the space. It’s not just about avoiding a tangle under your feet—it’s about making the hallway work for you.
An unsecured hallway runner rug is an accident waiting to happen. Even a slight shift can create a ripple or raised edge that catches a shoe. In high-traffic areas, that’s a recipe for stumbles, especially for kids, older family members, or guests unfamiliar with your space. Think about it—hallways are where people move quickly, carrying laundry, rushing out the door, or guiding pets. A sliding rug can lead to nasty falls, and that’s a risk you can easily avoid. That’s why non-slip runner options like rug pads or grip tape are worth the small investment. By using the right base, you keep the rug anchored, making it safer for everyone. Our Rug Cleaning Service can also help ensure the underside of your rug stays free from dust and debris that reduces grip over time.
A hallway runner rug isn’t just functional, but it’s part of your home’s personality. Centering it properly, keeping edges straight, and aligning patterns with the length of the hall all help create a sense of balance. Crooked placement draws the eye in the wrong way, making the hallway feel off-kilter. Using rug placement tips like measuring from wall to wall before laying it down helps you avoid that. Even in quirky-shaped halls, aiming for symmetry where possible makes a difference. And since we know hallways can take a beating, our Rug Repair Service can breathe new life into a favorite runner that’s been through years of foot traffic.
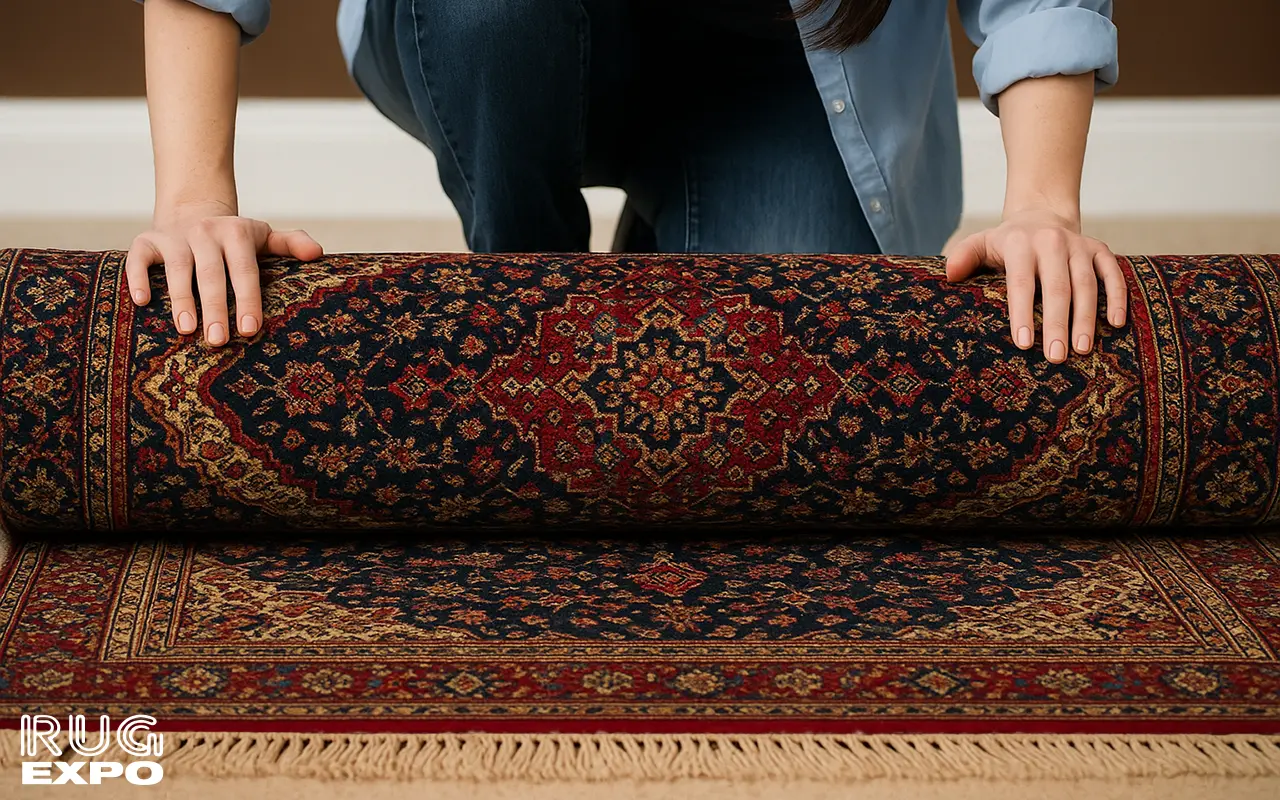
Getting your hallway runner rug to behave starts with preparation. Skipping this step is like painting without priming—you might get by, but the results won’t last. Gathering the right tools, choosing the right size, and prepping the floor make everything easier once you start.
You don’t need a toolbox worthy of a contractor, but having the right supplies on hand makes all the difference. A high-quality rug pad is a must—look for one designed specifically for runners. Double-sided carpet tape or rug grippers are also handy for stubborn corners. A measuring tape helps you position the rug just right, and scissors let you trim pads or grips to size. If you want to take it up a notch, our Rug Pad Service can match you with a pad that’s perfectly cut and suited to your specific floor type.
Picking the right size runner is a balancing act. Too narrow, and it looks like it’s floating in the hallway; too wide, and it creeps up the walls or baseboards. Ideally, you want a few inches of visible floor on each side for a framed look. Length matters too—a runner that falls short leaves the space feeling unfinished, while one that’s too long will bunch at the ends. These rug placement tips might seem small, but they’re the difference between “almost right” and “nailed it.”
Even the best non-slip runner won’t stay put if your floor’s a dust magnet. Before laying anything down, sweep and mop the hallway thoroughly, letting it dry completely. For extra staying power, consider a light floor cleaner that leaves no residue—sticky films can make rug pads slide. If you’re working over carpet, choose rug pads or grips designed for that surface to prevent rug curling and keep everything stable.
Placement isn’t just about safety—it’s about getting the best visual and functional result from your rug. The right positioning can make a narrow hallway feel wider, or draw the eye through a long stretch of space without it feeling like a tunnel.
In narrow halls, centering is straightforward: measure equal distances from each wall and line it up. In wider hallways, you might have more freedom. You can center it to the whole space, or align it with a specific pathway where foot traffic is heaviest. Both methods work, but whichever you choose, keep it consistent. Symmetry is soothing to the eye, and well-placed runners make hallways feel intentional rather than accidental.
Leaving a border of visible flooring around your hallway runner rug frames it nicely, much like a mat frames a picture. It also protects the edges from constant scuffing against the wall. Around three to six inches of floor showing on each side works for most spaces. This little gap also helps airflow under the rug, which can reduce the chance of moisture buildup—something that helps prevent rug curling in humid climates.
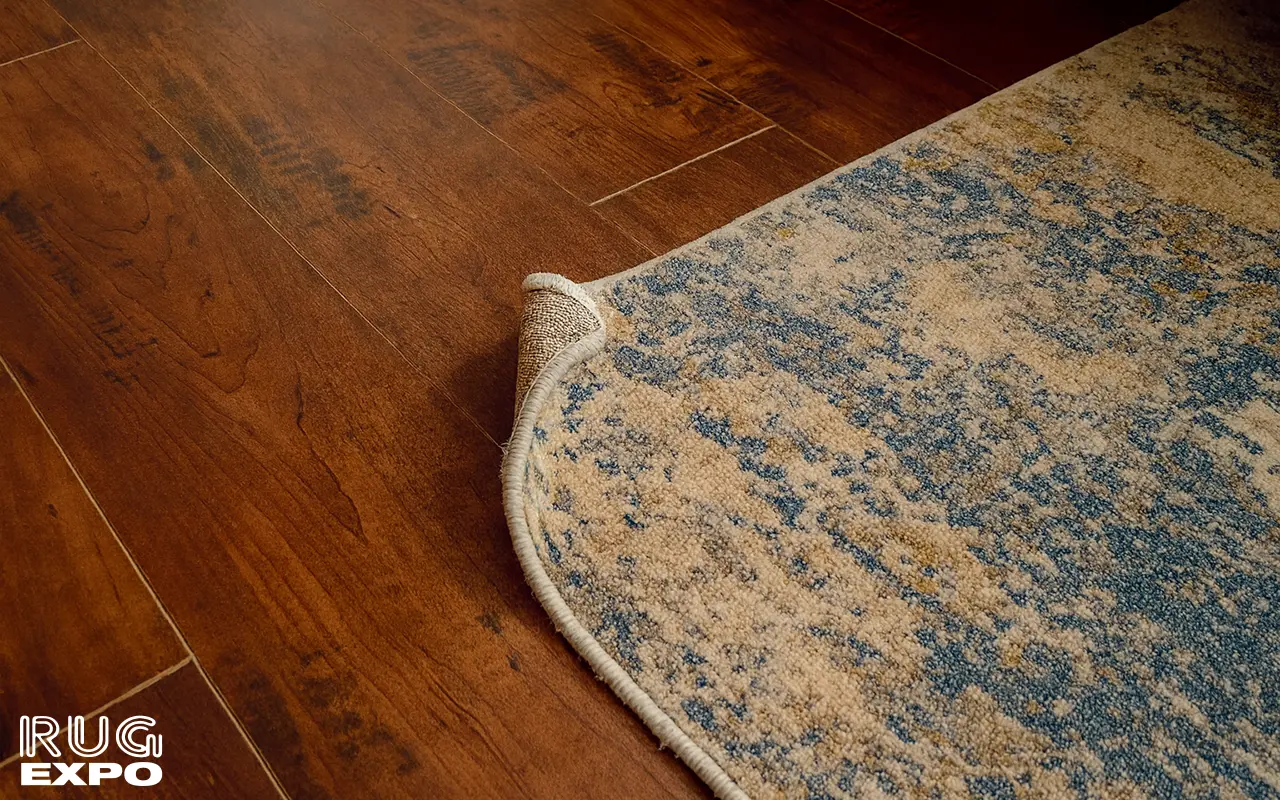
If there’s one thing that can make even the nicest runner look tired, it’s curling edges. It’s more than a visual annoyance—it’s another tripping hazard. Understanding why curling happens makes it easier to stop.
Curling can be caused by everything from humidity and foot traffic to the rug’s original weaving tension. Some rugs develop a memory from being rolled or stored, and they stubbornly hold onto that curve. To prevent rug curling, start with a flat, clean surface and a quality rug pad. Weighted objects on the corners for a few days can help reset the shape.
If the corners keep lifting, you can try gentle steaming to relax the fibers. Just don’t overdo it—too much moisture can damage certain materials. Another option is to apply rug tape under the corners for extra hold. These DIY rug tips are simple, but they work. And if your rug needs more than just flattening, our Rug Appraisal Service can help determine if it’s worth a professional repair.
Beyond basic pads, there are creative ways to make them more effective. Layering a thin felt pad with a rubber grip pad can combine comfort with stability. Trimming the pad slightly smaller than the rug prevents it from peeking out while still anchoring it firmly. This approach is especially useful for high-traffic hallways where you want both cushion and grip.
Not all anti-slip solutions are created equal. Some are quick fixes, while others are built to last.
Rug tape is easy to apply and works well for stubborn corners, but it may leave residue over time. Pads are a longer-term option, adding both grip and comfort. Grips are small, adhesive patches you can place where needed—handy for rugs that only shift in certain spots. The right choice depends on your hallway’s flooring and how much movement you’re dealing with.
If you’re in a pinch, certain household items can stand in until you get proper supplies. For example, a strip of silicone shelf liner under each end can add grip without damaging floors. Just remember, these are temporary fixes—you’ll get better results from purpose-made materials.
These techniques aren’t just for design enthusiasts—they’re for anyone who wants a hallway that’s safe, stylish, and low-maintenance.
If you rent, you know the struggle of wanting to make a place feel like home without risking your security deposit. A hallway runner rug with a good non-slip setup protects floors from scratches and scuffs while adding personal style. Since nothing is permanently attached, you can roll it up and take it with you when you move.
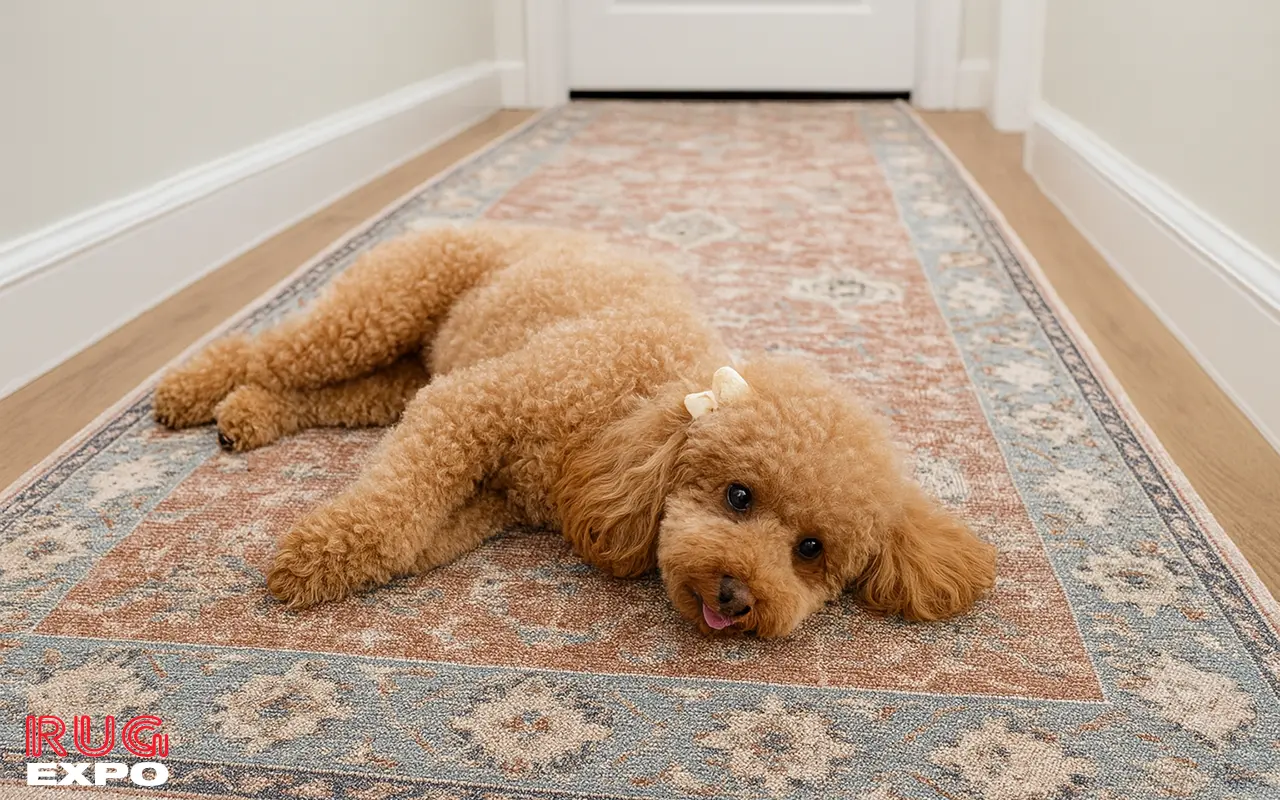
Busy homes with kids and pets need all the help they can get when it comes to preventing slips. Non-slip runner setups are essential in these cases. A hallway runner rug can also help reduce noise from running feet or paws, making the home feel calmer.
A hallway runner rug is more than a piece of fabric on the floor—it’s a hardworking design element that ties a space together while keeping it safe. With the right rug placement tips, smart DIY rug tips, and a reliable non-slip runner setup, you can prevent rug curling and enjoy a hallway that feels as good as it looks. Whether you’re working with one of our services at Rug Expo or handling it yourself, these steps ensure your runner stays exactly where you want it—day after day, step after step.